Landowner Guide
Landowner Registration
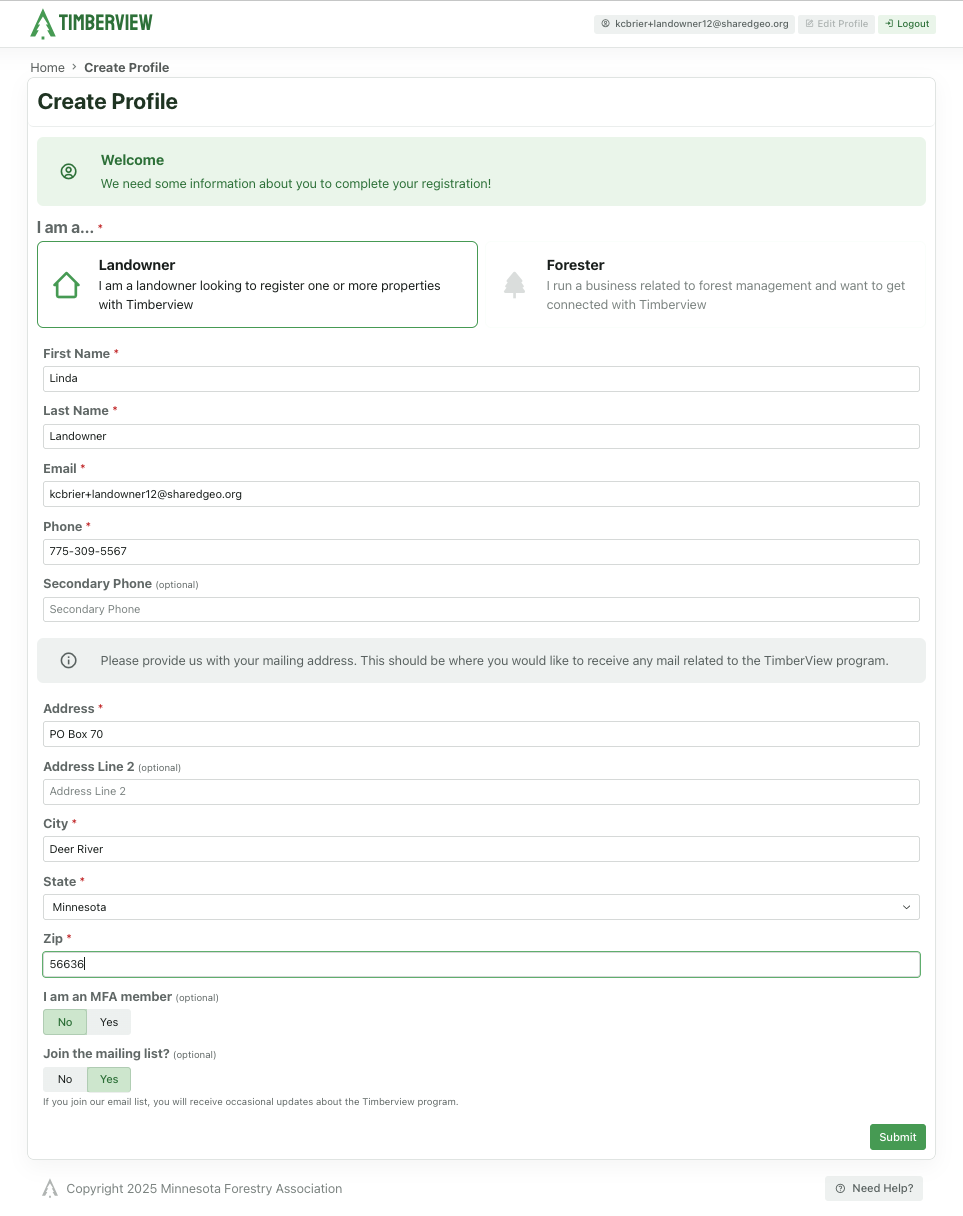
You selected the Landowner role. Enter the required information into the Landowner profile. These are the fields marked with a red asterisk (*). You can also enter a secondary phone if you will be using that to communicate.
Click Save. Success!
Landowner Profile
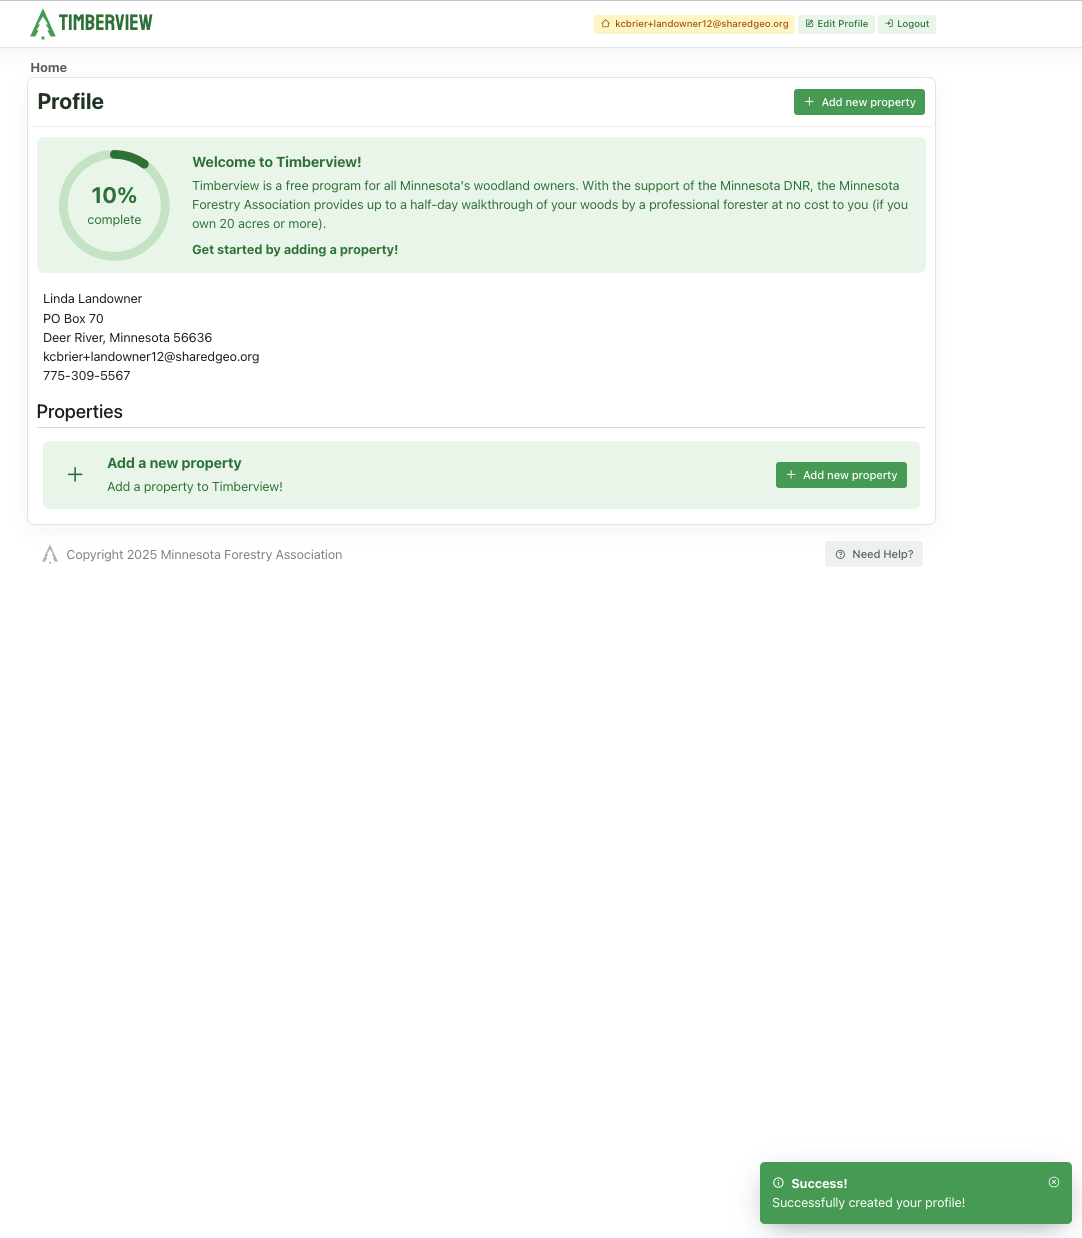
Profile Complete
Verify Your Account
After you register, you can keep working until you logout the first time, but to log in again, you will need to verify your email address. Open the email from TimberView and select Verify Your Account at the bottom and once again in the popup.
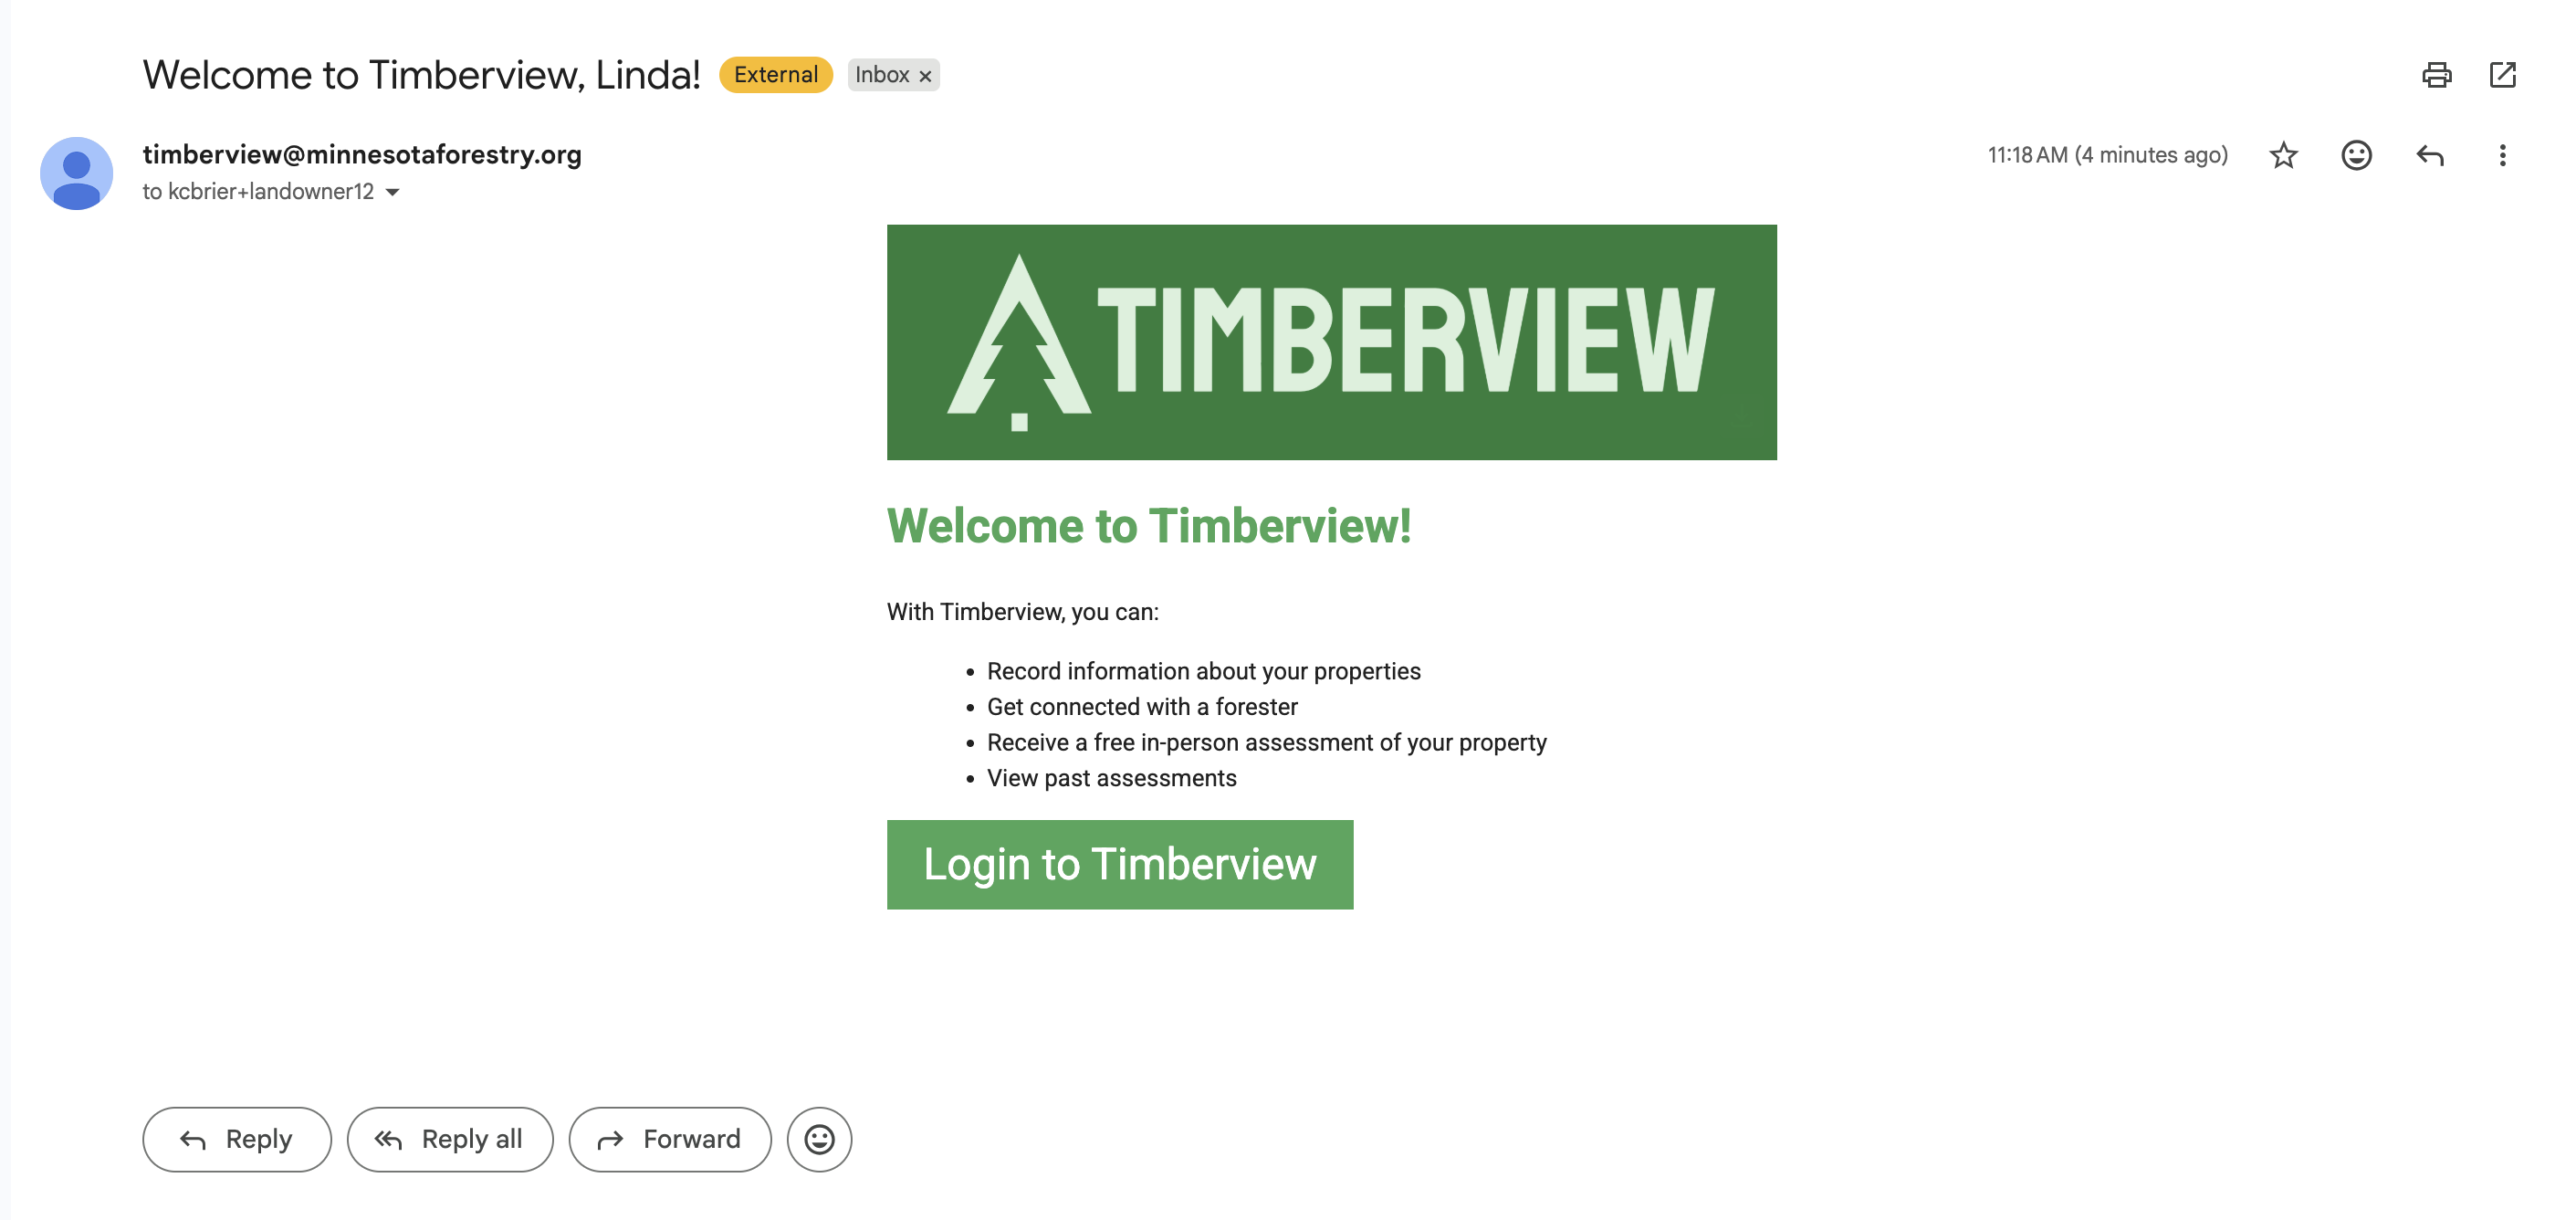
You must complete this step before you can log in again.
Edit Profile
Once you have verified your account, you can login and manage your account. To update your profile when something changes, select Edit Profile from your Profile page.
Add a New Property
The next step is to add your properties to your profile. Select Add new property . The state is already selected, click in the County field to enter the Minnesota county where your parcel is located.
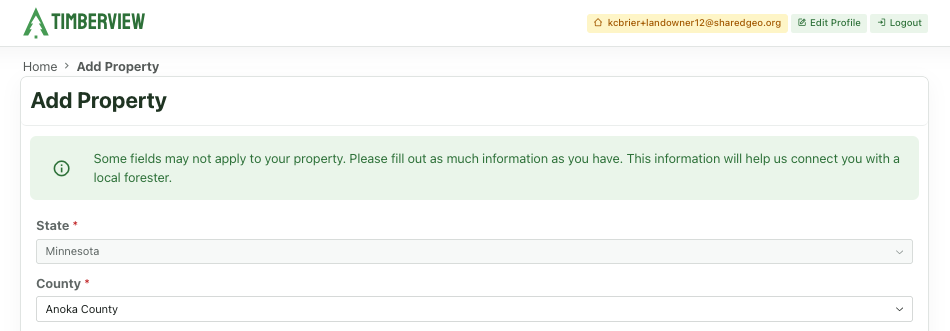
Enter the county for your parcel
Parcel IDs
Input at least one parcel ID, or multiple if you have several parcels next to each other that you would like assessed in one visit. You can search for a parcel using the map and view the parcel ID, or look it up on your Property Tax Statement or similar documents.
If entering multiple parcel IDs, the parcels should be in the same general area. If the parcels are far apart (i.e. more than a few miles), enter separate properties for each group of parcels.
To manually add Parcel IDs, click Add Parcel ID to enter your parcel ID. Then select the correct parcel from the search results. Click the Add Parcel ID button if you want to add a second parcel.

Parcel ID Search Results
If you’ve manually added a parcel ID, when you click on the option to Find parcel(s) on a map the map zooms to that parcel and the Estimated Total acres is displayed under the map. Instead of entering a parcel ID, you can use the map to manually zoom in and scroll until you find your parcel. You will have to zoom several times until the message about zooming disapears.
Once your parcel is selected on the map, you can select other parcels your own to add to the property description. Once you have added all your nearby parcels, click the Submit button to add the parcel and total acrerage to your property description.
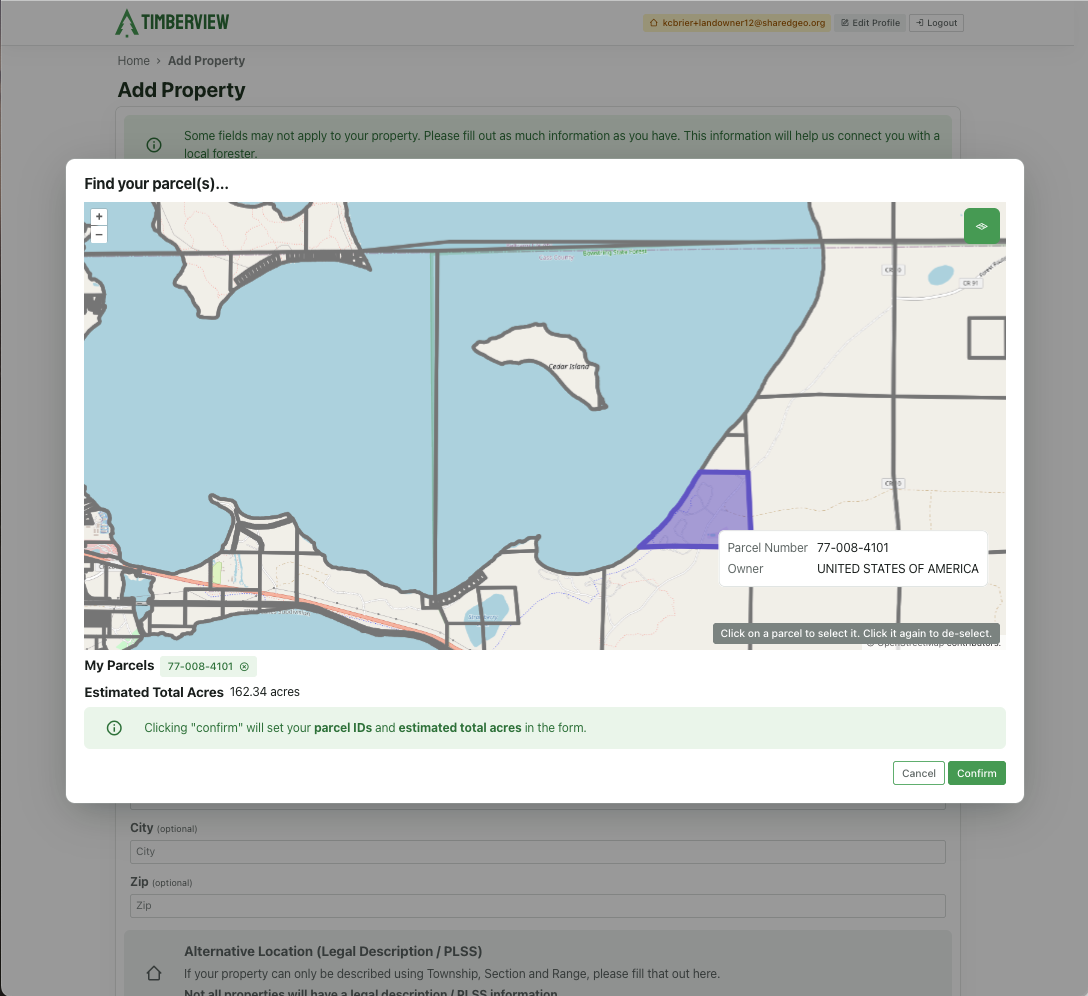
Find a Parcel on the Map
Property Details
Enter as much information in the description as you have available. Include any useful or important information in the Comments section. Remember to click Save when finished.
Property description
Property Dashboard
Your properties are displayed on your profile. From there you can see the status of each property and whether an assessment has been created, assigned, completed, cancelled or expired. Select the highlighted address for a property to open the Property Information page.
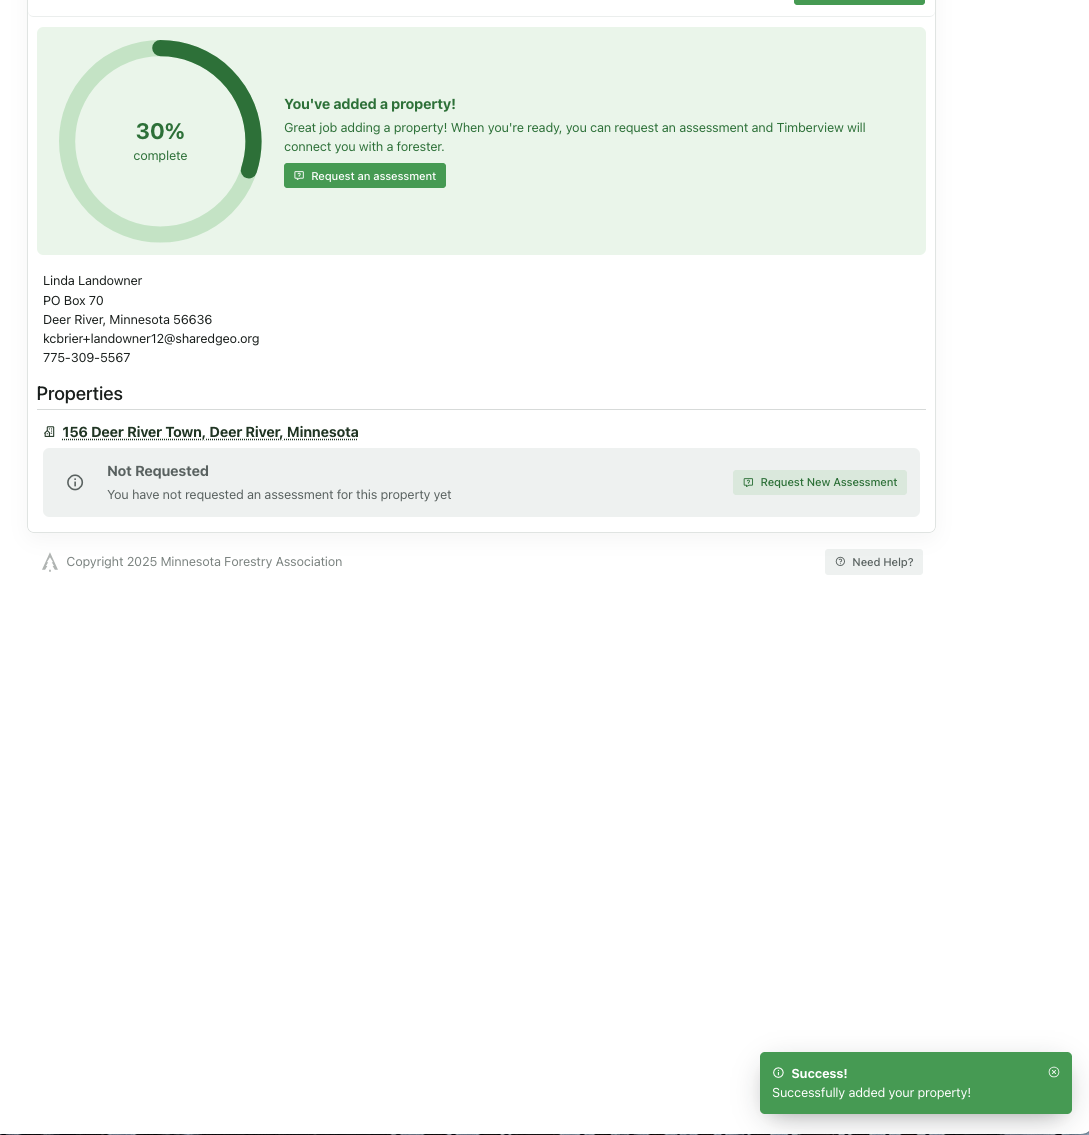
Property Dashboard
Request Assessment
Once you have added a property, you can request a forester to perform an assessment. Click the Request New Assessment button and fill out the request form. Be as detailed as possible in your notes for the forester regarding location, details about your woodland, any access issues, etc. Select a contact method and availability that will be convenient for you over the next few weeks, as it may take time to respond to your request. Click Submit to complete your request.
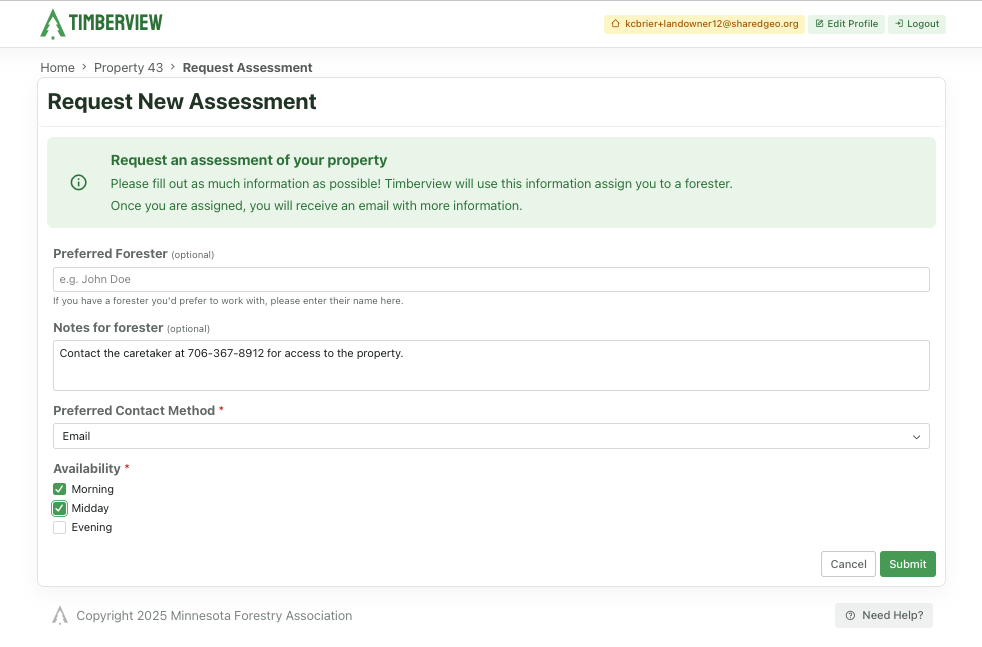
Assessment request form
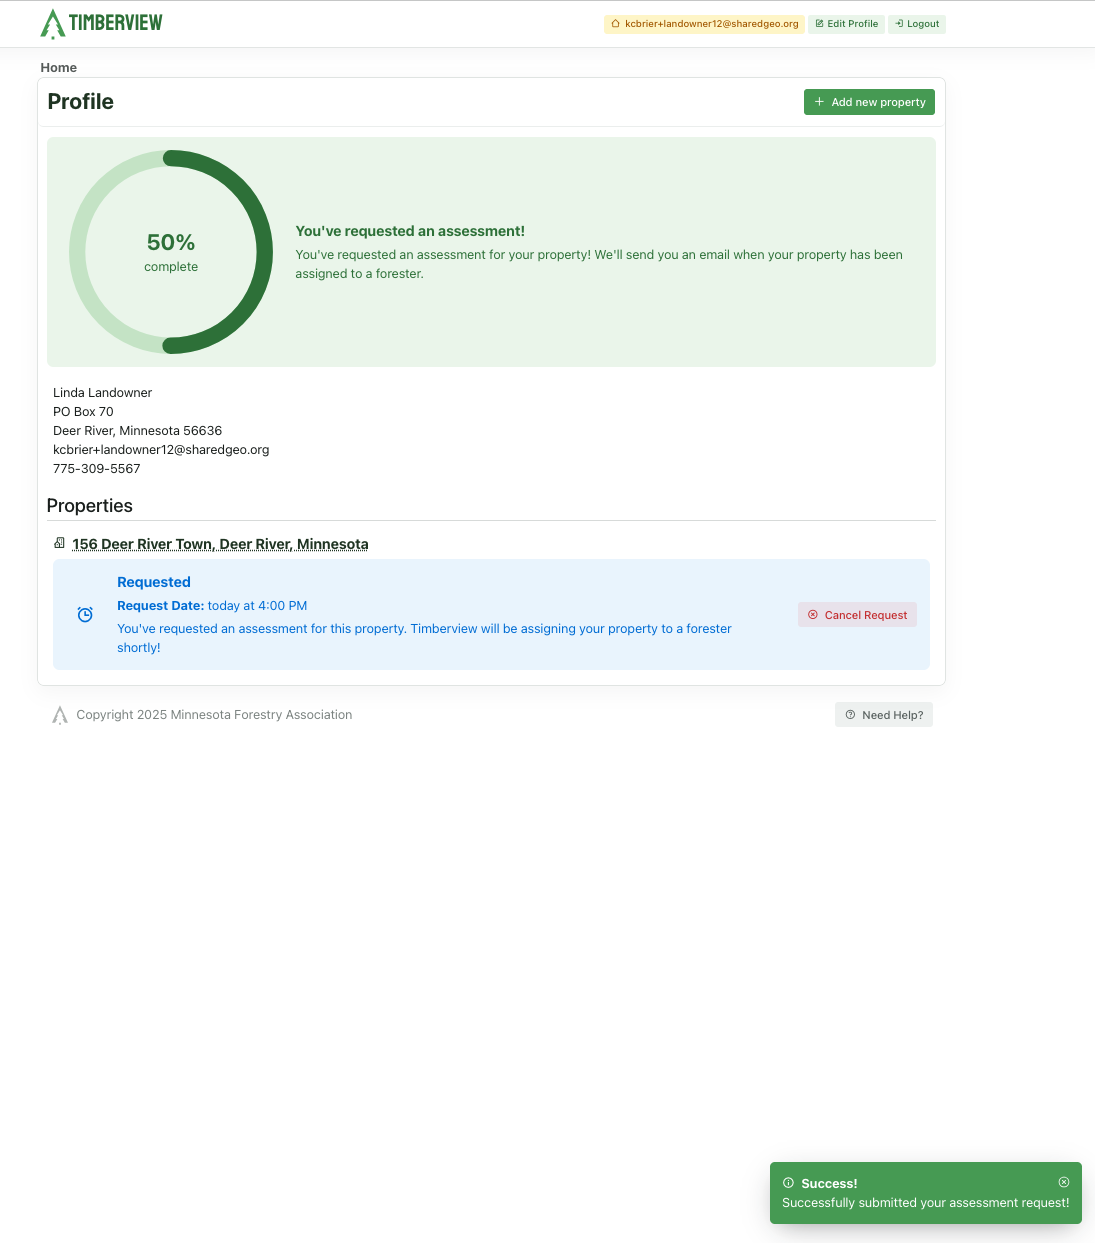
Assessment Request Status
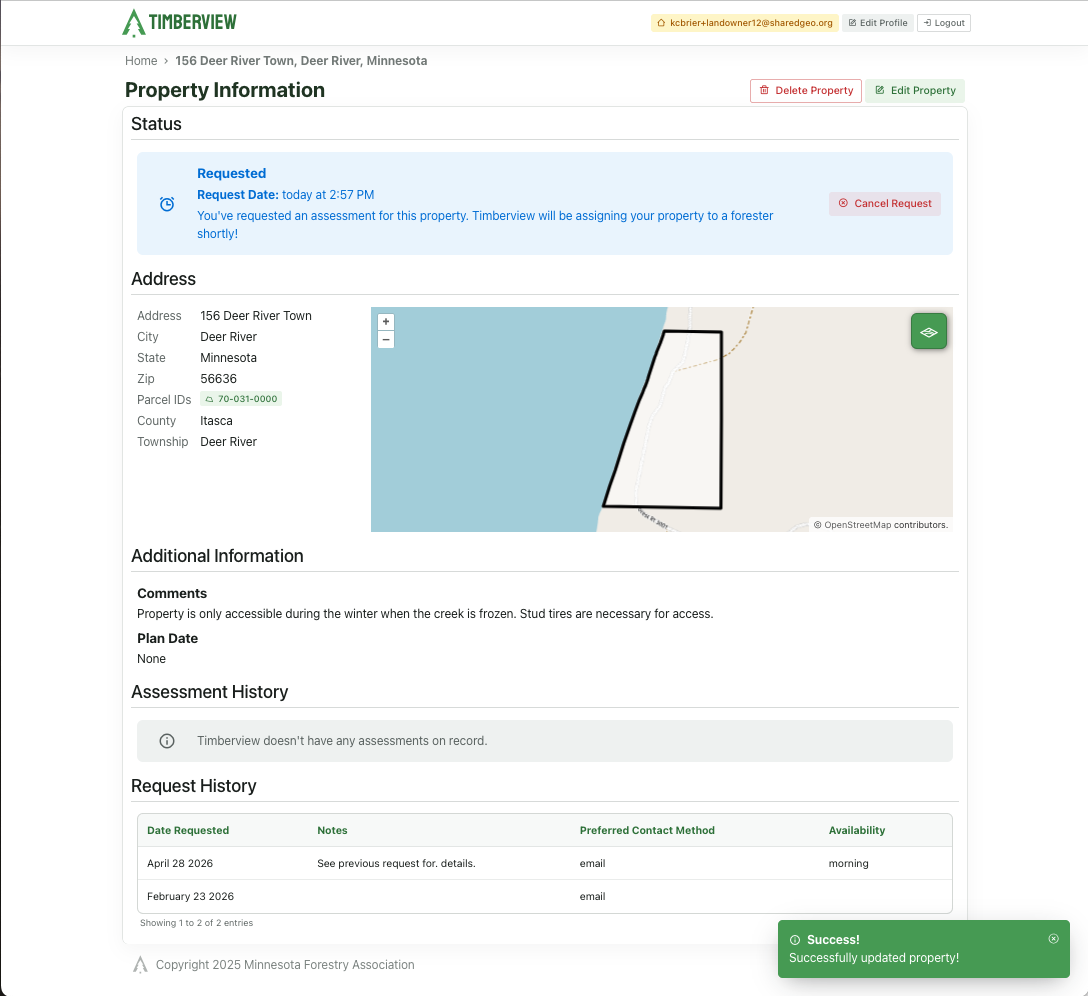
Your profile will update to show that an assessment has been Requested for the property. Once the request is assigned to a forester, you will receive an email and the status on your profile will update to Assigned. A forester will contact you to schedule a walk-thru.
Assessment request form
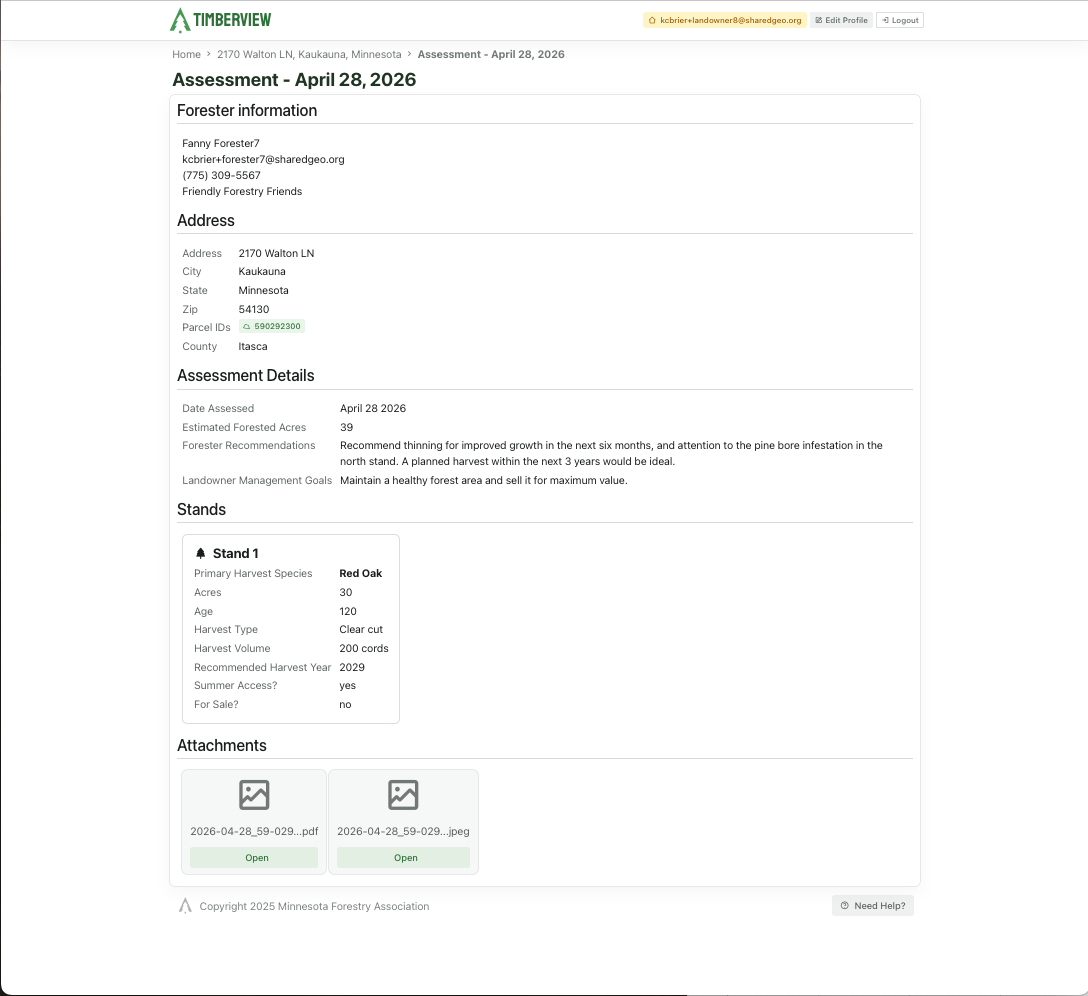
Assessment Details
After the forester submits his walk-thru and written assessment, the status will update to show the assessment is Complete. Click the Details button next to the property to view the report.
Note
You cannot make changes to an assessment or the attachments.
Completed Assessment Details - Needs update
Cancel Request
If it has been some time since the last assessment on this property, or if information about your property has changed significantly, you can cancel the assessment request. Once canceled, you can request a new assessment with up to date details.
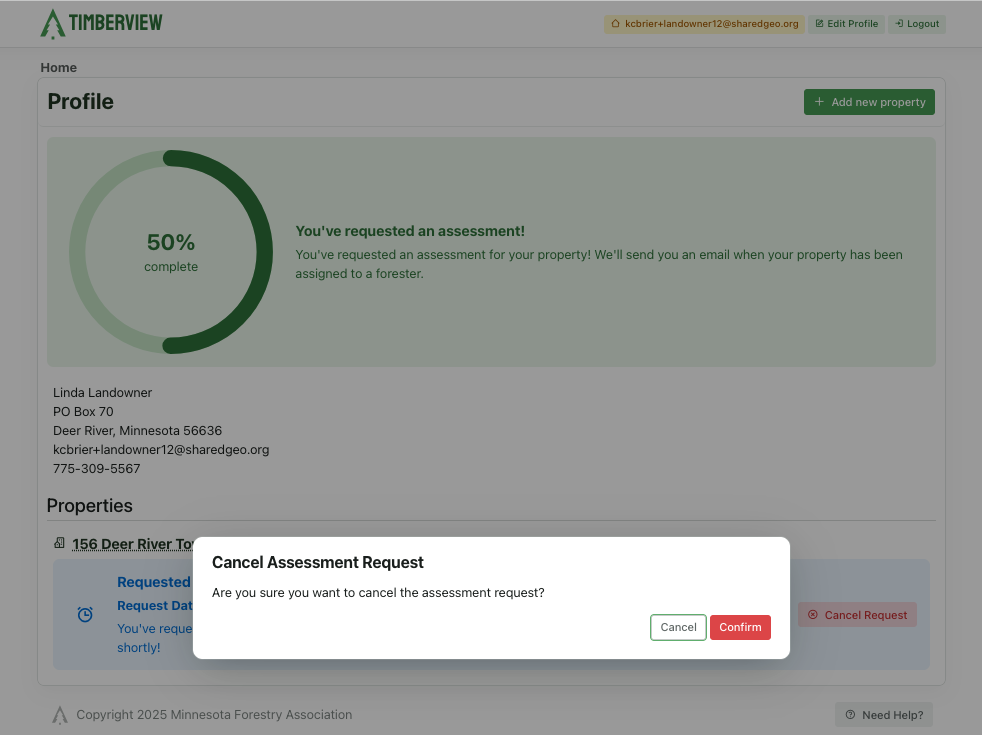
Request a new Assessment Request
Delete Property
If you sell or transfer a property, you can delete it from your profile, using the Delete Property option.
Warning
Deleting this property will remove it from your profile and will cancel any active assessment requests. You cannot undo this action.
Once you Confirm you understand this cannot be undone, the property will be removed from your profile. The property and it’s assessment history will remain in the system, but is no longer associated to your profile.
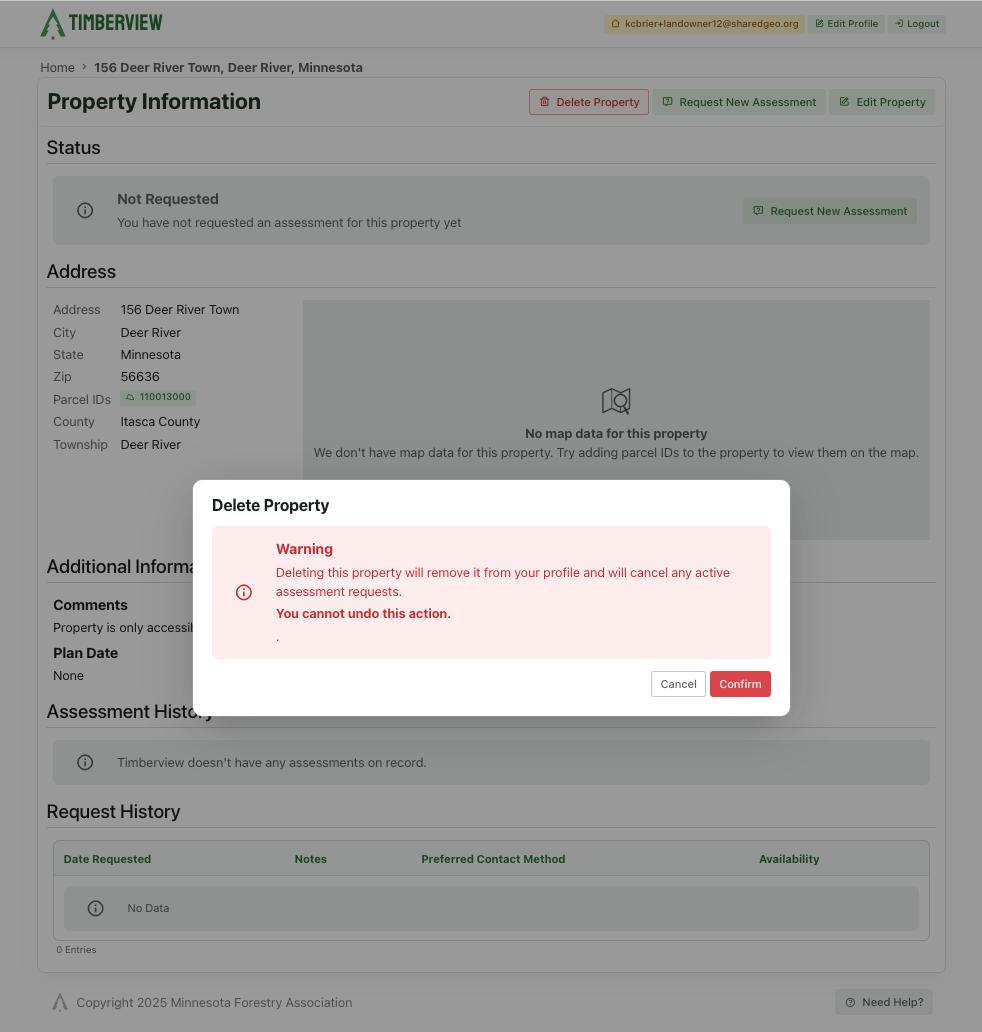
Delete a Property
Logout
Once you complete your woodland management tasks, select the Logout button at the top right of the page to end your session and secure your account.
Last Updated: Jun 26, 2026